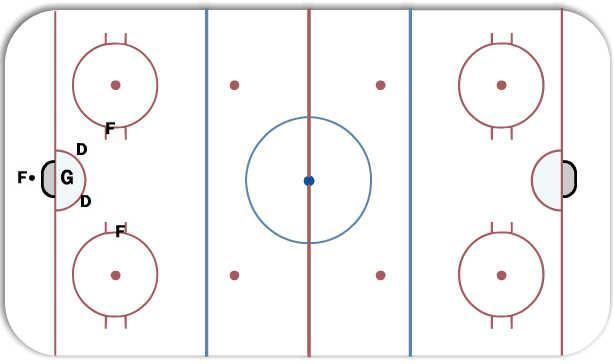
3V2 F1 behind net
Description
F1 must remain below the goal line.
3 on 2
D can go anywhere.