2 v 1 Battle Drill
Description
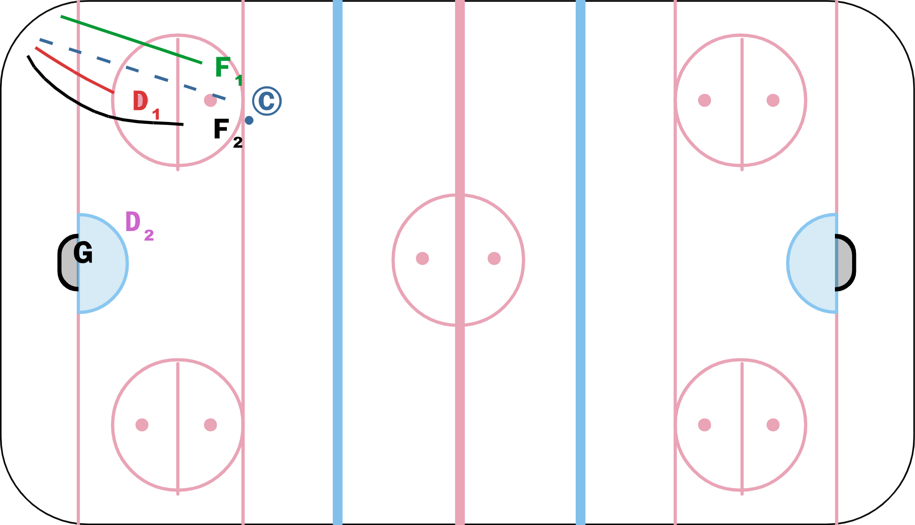
Coach starts with the ring.
Defence is on their skates on the dot closest to the boards. Both forwards are on their knees on the dot furthest from the boards.
Coach passes the ring into the corner
Goal of the Defence - get the ring, exit the zone. Once the defecne has the ring past the ringette line, they go in for a shot. Forwards stop checking once they pass the line.
Goal of the forward is to check as a pair, keep the defence on the boards and take the ring. Once they get the ring, they go in for a shot as a pair.
Key point for forward - first forward stops the defence from leaving the zone, checking from the front. Second forward approaches from the side/back to prevent the defender from going behind the net.
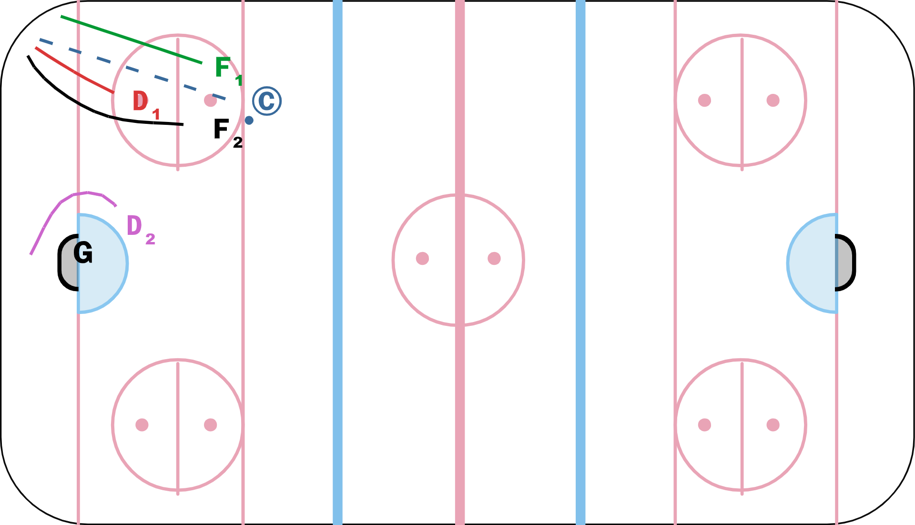
Progression - Support Pass
https://www.youtube.com/watch?v=K1kFw5fyb4c
D2 Calls for the support pass "Behind" for a pass behind the net & "in front" for a pass in front of the net.
Defence pass the ringette line - 2v0 vs Goalie
Forwards pass the ringette line - 2 v 2 vs Goalie
 |