This drill is currently in the trash and scheduled to be deleted soon
D to FW and 2 on 1 flow
This drill was created using HockeyShare.com's Online Drill Drawing & Practice Planning Platform.
Description
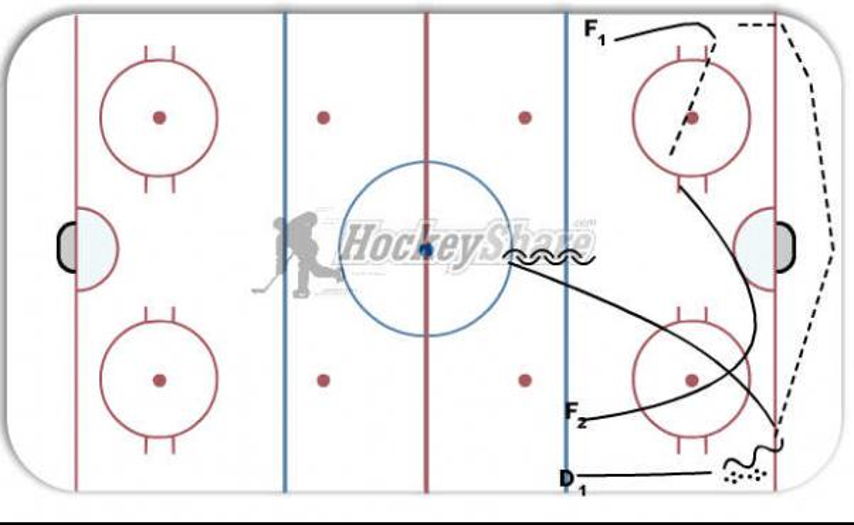
D1 goes and gets a puck and passes the puck behing the net to the F1 coming down deep into the corner. F1 then passes the puck to F2 who is looping down and should time it to get the pass from D1 at the hash marks. D1 will skate out to the blue line for a 2 on 1. D1 and D2 will loop outside the blue line and go back in for a 2 on 1.
Category: Systems
Tags: D-man must make the pass as soon as he gets the puck. The pass has to be hard to get around.
Posted By: krasmuss34
(Used in 0 Plans)
Created: 2011-11-07, Last Modified 2013-06-03
 |