OZ Options

Description
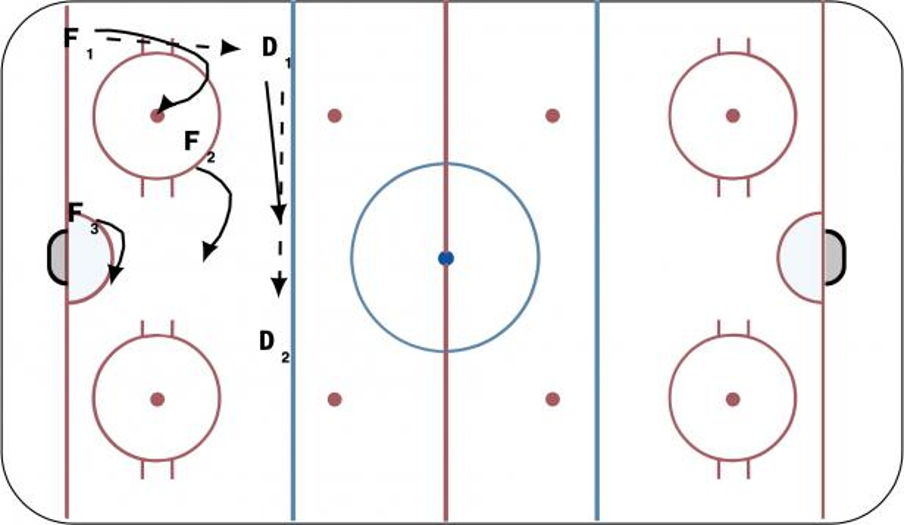
OPTION 1- F1 pass to D. F3 on SS post. F2 up high. F1 up wall and pass to D. He then tracks to back side of net. D1 pass to D2 and high F tracks puck looking for possible high tip.
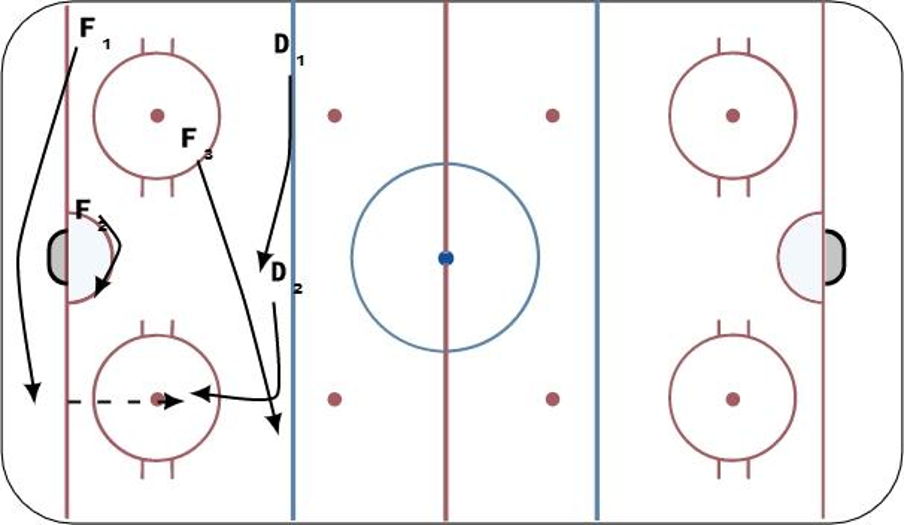
OPTION 2-F1 around net. F2 on SS post. He must box out D to open ice for F1. D2 comes across blue and down dot lane looking for pass. F3 tracks puck and once D2 is down dot lane, F3 goes up high to cover.
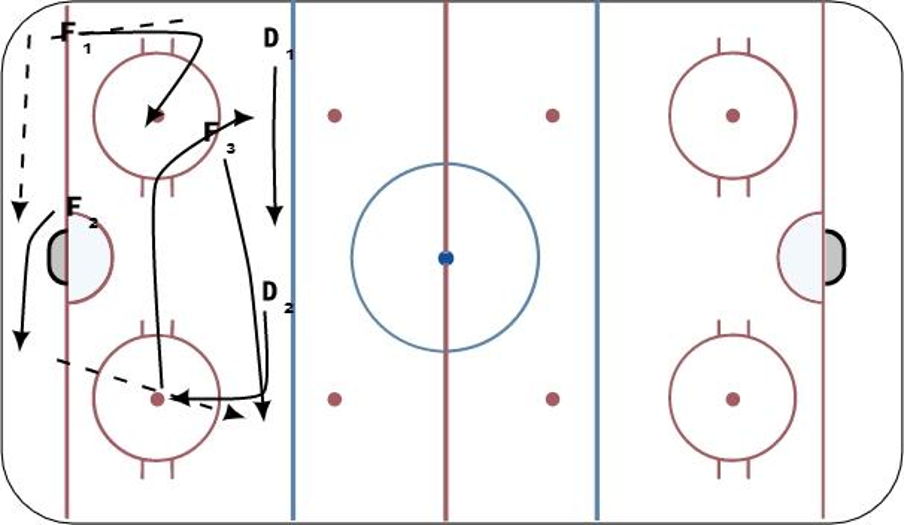
OPTION 3- F1 skates up wall and makes a long cycle. F2 on SS post retrieves cycle. D2 comes across blue and down dot lane looking for pass. F3 tracks puck and once D2 is down dot lane, F3 goes up high to cover.
OPTION 4- F1 skates up wall, gets to hash mark. D1 activate and dives through middle, eventuality filling weak side. D2 gets to middle of ice, depending on handidness, he is available for one time pass, or F1 can continue to roll and D2 will come over the top of him.
 |