This drill is currently in the trash and scheduled to be deleted soon
2 on 1 transition
This drill was created using HockeyShare.com's Online Drill Drawing & Practice Planning Platform.
Description
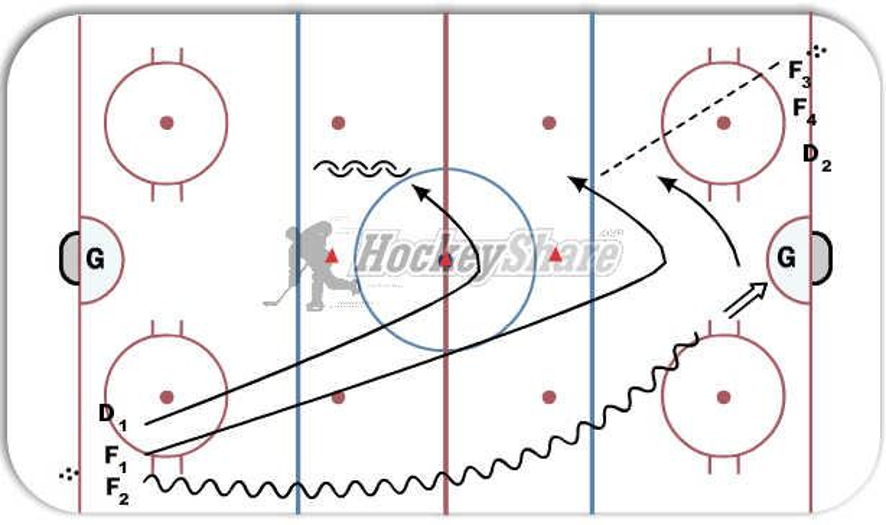
Both corners at same time.
F2 leaves with puck for shot at far end.
F1 and D1 leave at same time.
D1 pivots at center cone ready for 2 on 1.
F1 receives pass from F3 and F2
joins F1 for 2 on 1.
Category: Passing
Tags: - quick transitions, - D quickness on feet for 2 on 1
Posted By: Gigagreen
(Used in 102 Plans)
Created: 2013-10-16, Last Modified 2013-06-03
 |