This drill is currently in the trash and scheduled to be deleted soon
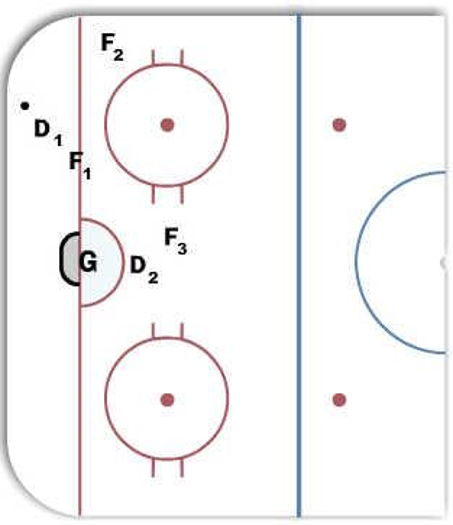
2-2-1 Defensive zone coverage
This drill was created using HockeyShare.com's Online Drill Drawing & Practice Planning Platform.
Description
D1 est sur la rondelle et f1 supporte D1
F2 est tres bas dans la zone et est pret a recevoir la rondelle pour une sortie de zone.
D2 et F3 sont dans l'enclave au cas ou on pert la rondelle.
Category: Systems
Posted By: mcousineau
(Used in 0 Plans)
Created: 2013-04-24, Last Modified 2013-06-03
 |