1 v 3 Forecheck

Description
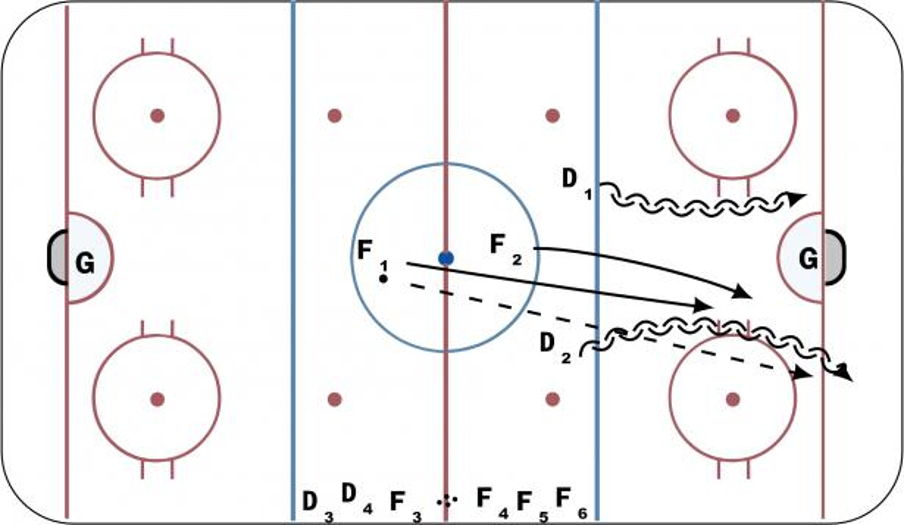
Diagram #1 - Set up drill with F2, D1 and D2 defending the zone against F1. On the whistle, F1 will dump the puck in the zone and become the forechecker against F2, D1 and D2. D1 and D2 must read the forecheck pressure and set up to break out with F2. The goal is to breakout against the forecheck and the forecheckers goal is to angle the puck carrier away from the support.
Diagram #2 - As the puck is dumped into the zone, F3, D3 and D4 step up ready to defend and breakout of the opposite end. F3 applies pressure to the player ONLY IN THE NZ. If F3 creates a turnover, the puck is dumped back in and the breakout occurs again. If F2 is successful with beating F3, he dumps the puck in and becomes the forechecker against D3, D4 and F3.
The drill is continuous and starts again with F4, D5 and D6.
 |