This drill is currently in the trash and scheduled to be deleted soon
Puck Protection #2 (STN/NZ)
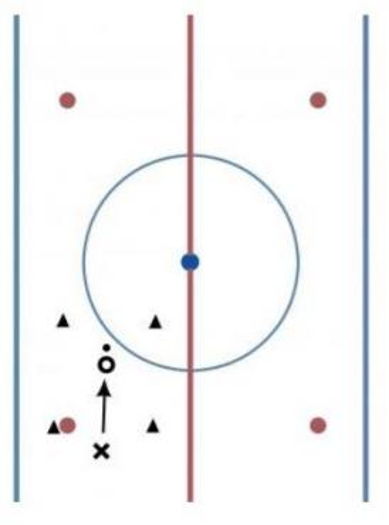
Description
Phase 1:
Set up cones to define drill area. O starts in the center wihtout their stick and with a
puck behind them. On Go, X enters the drill area and tries to take the puck away. O
protects the puck using body position only. Drill continues until X gets the puck, or
coach stops the drill.
Phase 2:
Same setup, but now there is a cone in the middle behind O. X starts with a puck
outside the drill area. On Go, X tries to get puck to the pylon while O defends with body
position only. Drill continues until X gets puck beside pylon or coach stops the drill.
Category: Agility
Posted By: mikes27
(Used in 1 Plan)
Created: 2019-12-08, Last Modified 2019-12-08
 |